

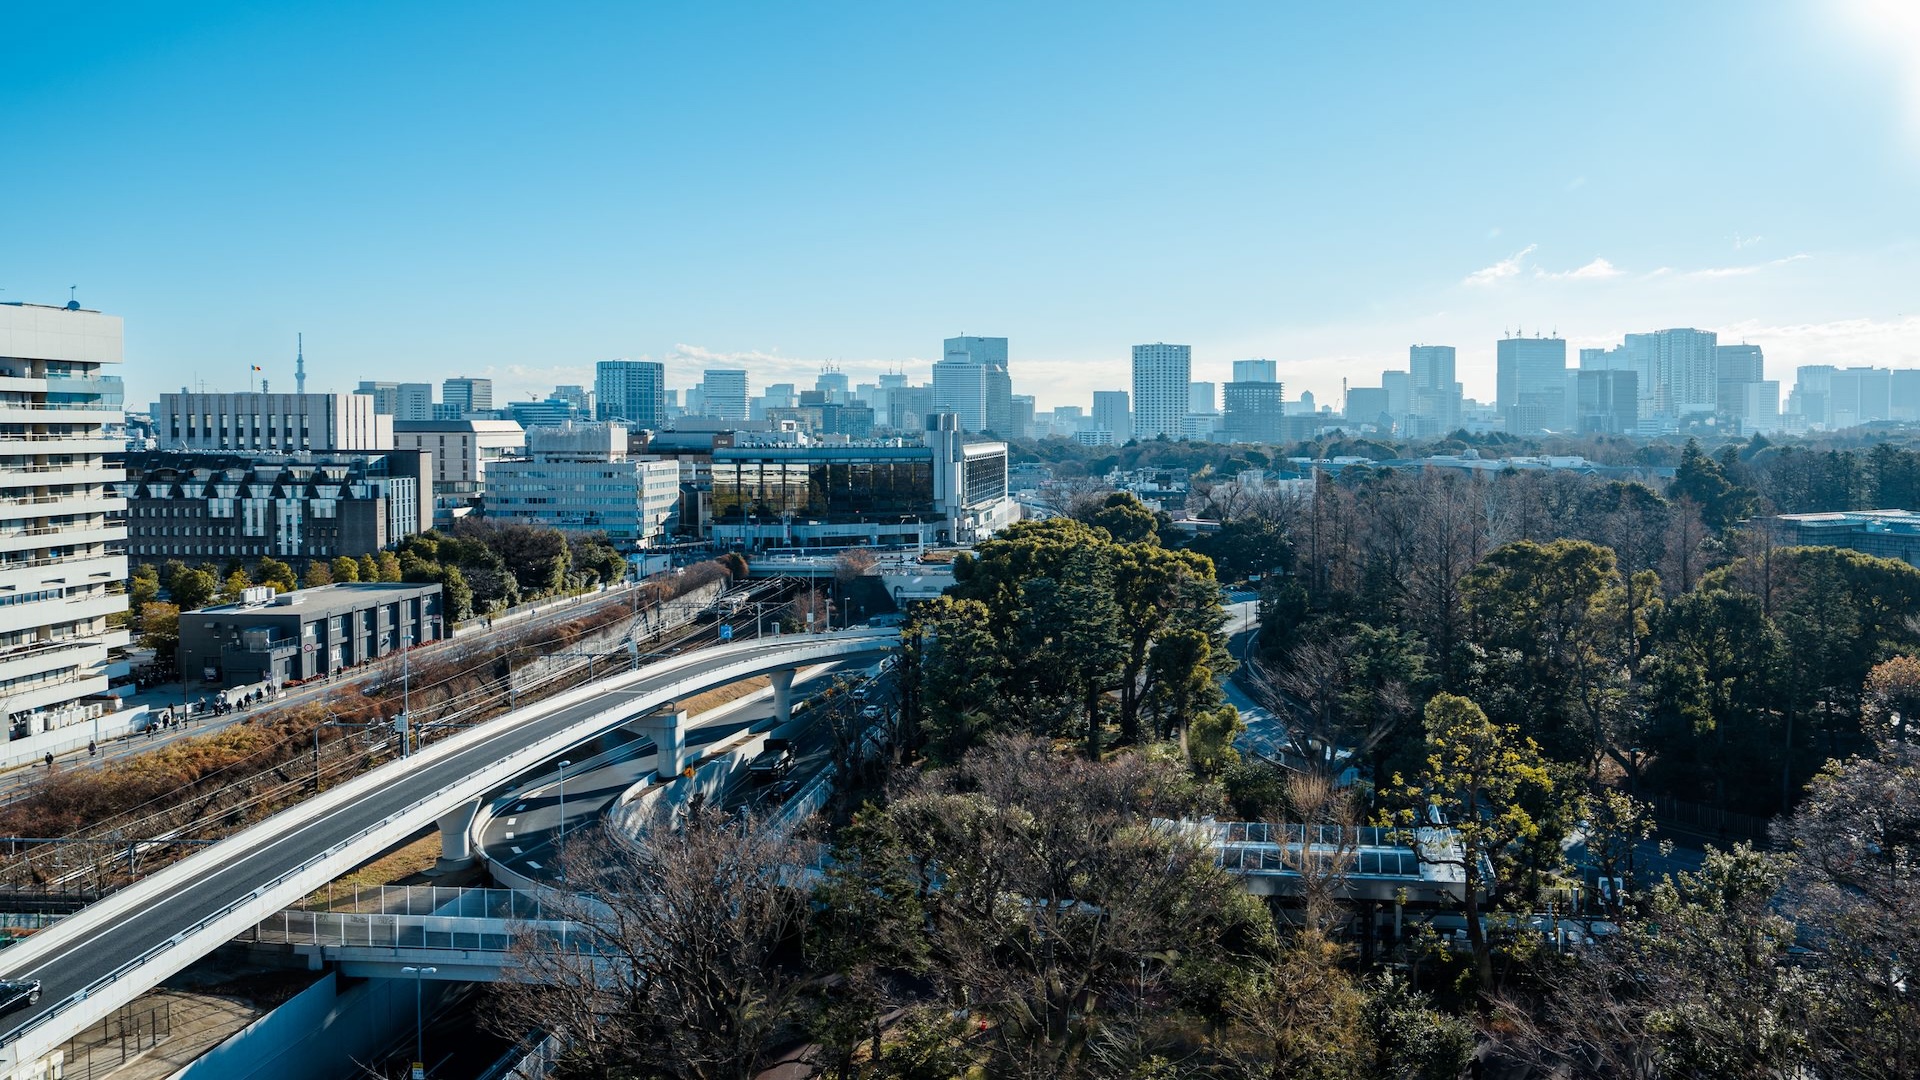
From the neon alleys of Tokyo to the serene shrines of Kyoto, Japan remains a dream destination for Indian globetrotters. Fortunately, the Japanese government has systematically simplified entry requirements for Indian passport holders over recent years. Around mid-2026, Japan executed a sweeping global revision of its visa fee structure, drastically inflating costs for many international travelers. However, India remains a favored partner; the Embassy of Japan continues to offer an incredible concessional fee structure exclusively for Indian citizens. This definitive unstumbled roadmap details everything an Indian traveler needs to know, balancing physical VFS submissions with the online eVisa platform, exact document flows, and structural processing timelines.
Physical VFS Or The Japan eVisa? Japan Visa Guide For Indians
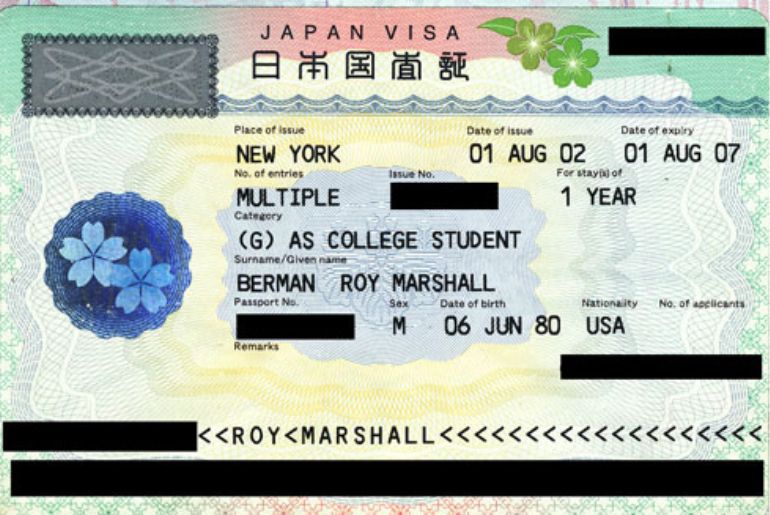
Indian travelers have two primary digital and operational methodologies to secure a short-term tourist visa that is valid for up to 90 days. One is the Japan e-visa system, and the other is the physical stick visa. Here is more information about both.
The Japan e-Visa System
This type of visa is ideal for independent solo travelers or families booking simple, linear tourist itineraries who prefer an electronic visa certificate over a passport sticker. Applications are initiated online but integrated directly via the authorized Japan Visa Application Centers (VFS Global). It issues a single-entry digital visa document that you present on your smartphone upon arrival.
The Physical Sticker Visa (VFS Submission)
This type of visa is mandatory if you are applying for a Multiple-Entry Tourist Visa, traveling for short-term business, visiting relatives, or if your transit routing does not qualify for a standard tourist eVisa. As of 2026, Japan has officially abolished the independent Transit Visa category globally. Travelers passing through immigration for layovers must now apply for a standard short-term stay tourist visa.
Financial Breakdown: What It Costs
While other foreign nationals face steep standard costs at Japanese consulates globally, India’s entry fees remain highly economical. Here are the details:
| Visa & Service Category | Fee for Indian Citizens | Fee for Other Nationalities (In India) |
| Single-Entry Tourist Visa | INR 500 | INR 8,650 |
| Multiple-Entry Tourist Visa | INR 500 | INR 17,350 |
| Double-Entry / Specific Entry | INR 50 | INR 400 |
| VFS Global Logistics Fee | Around INR 800 (Varies by center) | Around INR 800 (Varies by center) |
Step-By-Step Application Process For Japan Visa
To ensure your application is processed cleanly without administrative rejections or delays, follow this exact progression.
First Step: Method Selection: Identify Your Entry Type And Application Method
Determine if you are eligible for the single-entry eVisa portal or if you require a multi-entry sticker visa. Ensure your intended travel date sits comfortably within a three-month forward-looking window from today, as embassies will not process applications earlier than a 90-day cushion.
Second Step: Form Execution: Complete And Print The Visa Application Form
Download the standardized application form from the VFS portal. Fill out every field digitally or in clean block letters. Ensure your physical passport-size photograph matches the exact, strict specifications: 45mm x 35mm, glossy finish, white background, with exactly 70 percent to 80 percent face coverage, no spectacle lenses, and not used on any previous visas.
Third Step: Appointment Booking: Schedule Your VFS Submission Slot
Log in to the official VFS Global portal for Japan. Select your nearest processing hub (such as Mumbai, New Delhi, Bengaluru, or Kolkata) and reserve an individual appointment slot for each family member traveling.
Fourth Step: Document Compilation: Arrange Paperwork In Chronological Order
Compile your physical dossier on flat A4-sized paper only. Place your document checklist on top, followed by the signed application form, original passport, day-by-day travel itinerary (Kyokaisho style), flight reservations, hotel vouchers, and financial certificates.
Fifth Step: Submission And Biometrics: Attend The Appointment And Track Processing
Submit your dossier at the chosen center and clear the logistics fee via cash, card, or UPI. The minimum internal timeline required by the embassy is 5 working days from the moment the file arrives on the consular desk. Track the status online using your reference number until passport retrieval is signaled.
Important Documentation Checklist
- The Six-Month Bank Statement: You must present a formal bank account statement covering the trailing six months. The statement must bear the wet stamp and signature of the issuing bank authority on every page. Consulates look for stable daily balances proving you have sufficient liquidity to cover all flight, lodging, and daily meal expenses.
- Income Tax Returns (ITR): Submit your clear ITR acknowledgments covering the last 3 consecutive financial years. If you lack these, you must attach a compelling cover letter explaining your tax bracket or professional allocation alongside auxiliary assets.
- No Confirmed Tickets Required: The Embassy of Japan explicitly states that you only require verifiable flight and hotel reservations or hold itineraries. Do not buy fully non-refundable, premium tickets before getting your visa stamped.
Also Read: Is Japan Vegetarian-Friendly? An Honest Guide For Indian Travelers
Summing Up
Securing a Japanese tourist visa from India is smooth and incredibly cost-effective if you adhere to their strict document layout rules. Keep your paperwork precise, ensure your bank statements are officially stamped, and map out a clear itinerary to unlock the Land of the Rising Sun.




One Response